
In another blog, we discussed, how to train and publish the object detection AI Model. This blog will discuss how to consume that AI model in a real scenario.
For our demo, we will use SharePoint as a source to send the input.
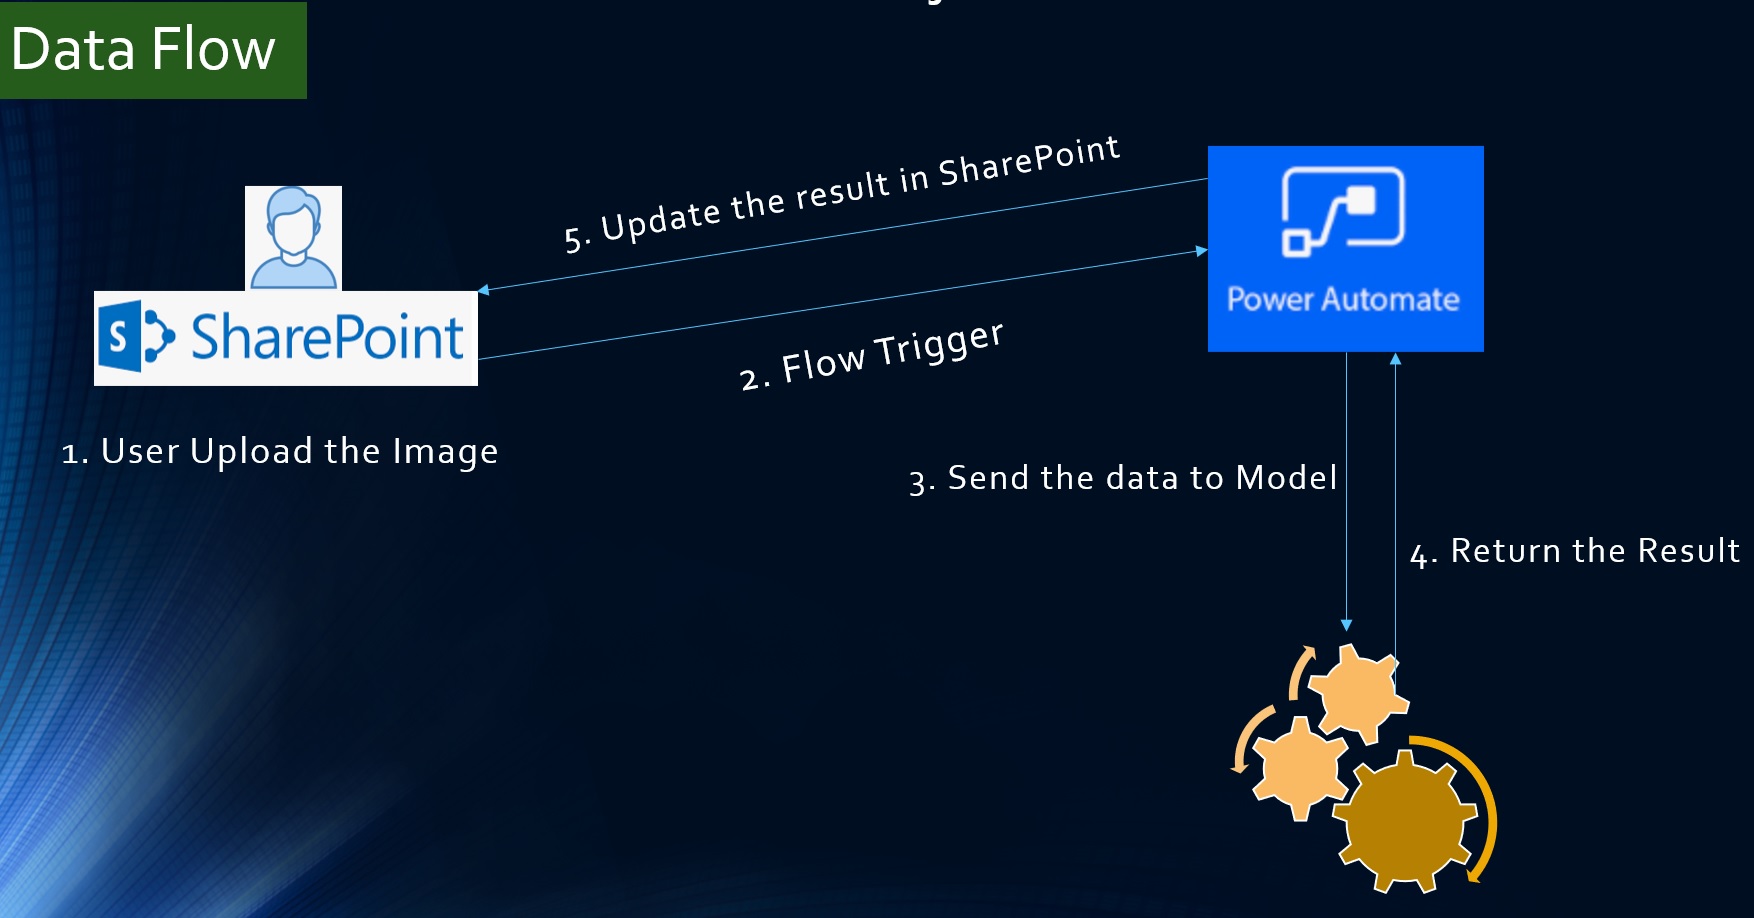
- The first step is for a user to create list item and upload the image to SharePoint
- The next step is Power automate flow will be triggered.
- The next step is to Power automate send the data or file content to AI Model.
- The Next AI model returns the result/output.
- Finally, Power automate update the result in SharePoint List, So that we can verify the data
Visual representation for the data flow
Step by Step to consume AI model through Power Automate
- Create a SharePoint list with the following fields. These are the objects/data elements that will be collected from the image and AI.
- Soccer Ball Count – Integer
- Confidence – Decimal
- Analyze Complete – Boolean

- Create automated cloud flow
- Go to https://make.powerapps.com
- Select the appropriate environment
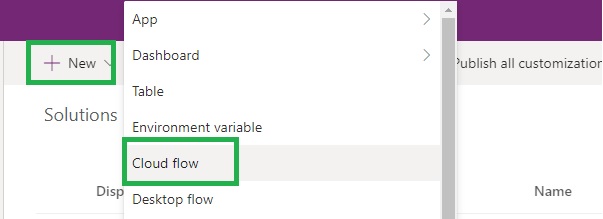
- Create New Solution (If not exist already)
- Note: The default environment has some restrictions

- Note: The default environment has some restrictions
- Click New to create Cloud Flow
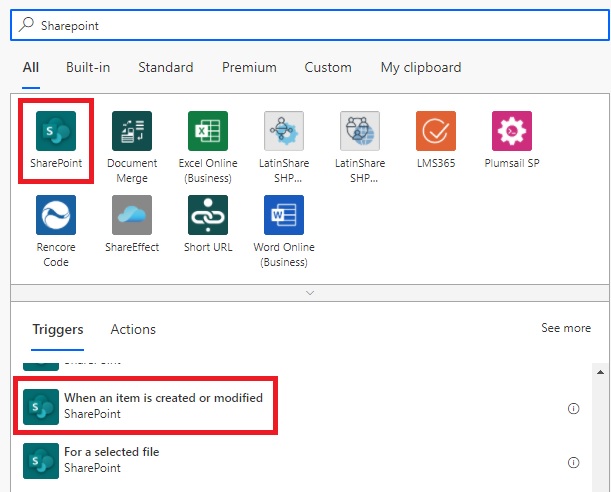
- Source: SharePoint
- Trigger: When an item is created or modified
- Enter the name for the flow

- Add another action to get SharePoint Attachments
- Select the same Site and list
- The id should from the Trigger step

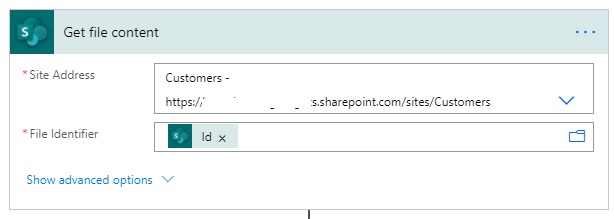
- Add action to get SharePoint File Content
- Select the same site
- File Identifier should ‘Id’ from the “Get attachments” step
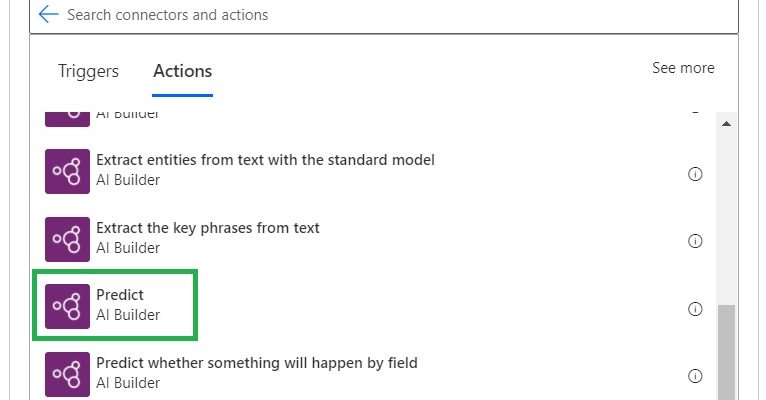
- Add action to AI Builder
- Action : Predict

- Action : Predict
- Select your Object detection AI model that we trained on our last blog
- Set the image as the file content from Step #9

- Set the image as the file content from Step #9
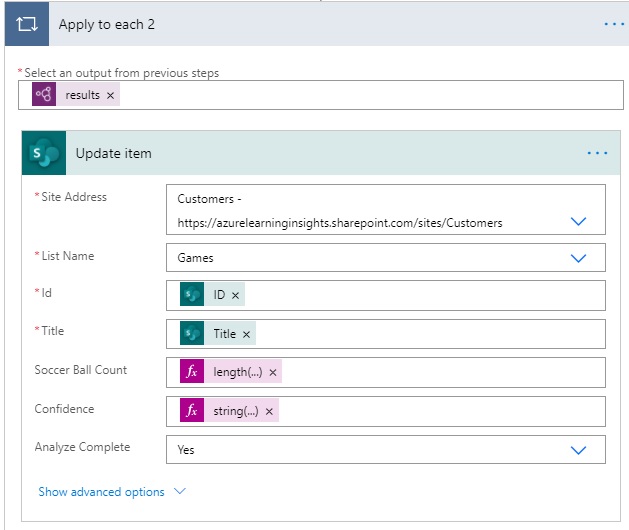
- Add action to update item in SharePoint
- Source : SharePoint
- Action : Update Item
- Set the Id and Title from the trigger
- Update other fields
- Soccer Ball Count
- Formula:
length(outputs(‘Predict’)?[‘body/responsev2/predictionOutput/results’])
- Formula:
- Confidence % :
mul(items(‘Apply_to_each_2’)?[‘confidence’],100)
- Analyze Complete – This is to avoid recursive (infinite loop)
- Soccer Ball Count
- You may noticed another “Apply to each 2” added since we may collect or predict multiple object from the same image
- Test the AI Model
- Go to SharePoint
- Add List item
- Click “Save”
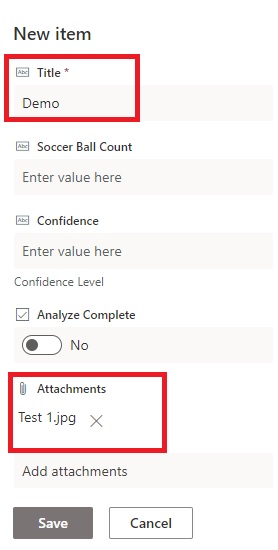
- Test Image

- We should be able to see the result in few minutes at max
- Here is the result

- Confidence level is 78%. We need to train with more images to increase the confidence level.
Thanks for visiting. Happy Learning!