In March Microsoft released Power Automate Desktop which Automates tasks in Windows 10 with no additional cost. In this blog, we will discuss how to install and create our first desktop flow.
What is Power Automate Desktop?
- Automate repetitive desktop tasks
- It’s a desktop application that enables Robotic Process Automation (RPA)
- Has lots of connectors and actions that built-in
- It is not a desktop version of Cloud Power Automate
- Has a built-in recorder (Web and Desktop)
- Create flow steps by recording user actions
Main purpose of this tool for personal productivity scenarios
Cost
-
- Free for Windows 10 users
- We required to upgrade for advanced scenarios
- Unattended run mode
- Combine with cloud flow
- Leveraging with AI builder
- Collobaring with other team members
Use Cases
-
- Data migration
- Moving the files from FTP to SharePoint site
- Extract data from websites and store them in excel files and automate further
- Read stock market information and move to your site
- Automate web and windows application
- Perform simple or complex rule-based tasks on their workstations
- Read public information from any other sites
Licensing
It has three licensing options available
1. Free Version
-
-
- Cannot interact with cloud flows
- Cannot interact with cloud data connectors
- No AI Builder capabilities
- We can’t share with others
-
2. Attended RPA Plan
-
-
- Requires user intervention
- Able to connect with 450+ connectors
- Use AI capabilities
-
3. Unattended RPA Plan
-
-
- Run-on background
- No user dependency
- All attended RPA Plan
- Able to connect with 450+ connectors
- Use AI capabilities
-
Download
-
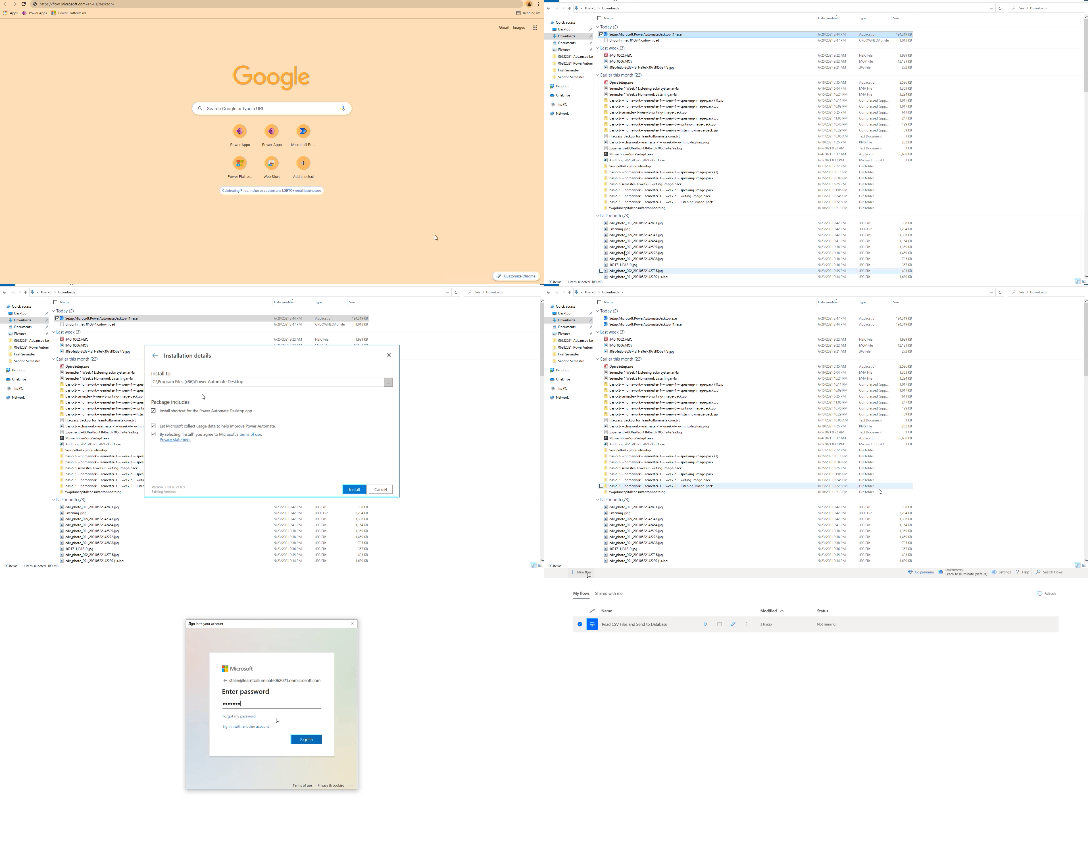
- Go to flow.microsoft.com/desktop
- Click Download free button/link
- Install the downloaded version
Install Power Automate Desktop

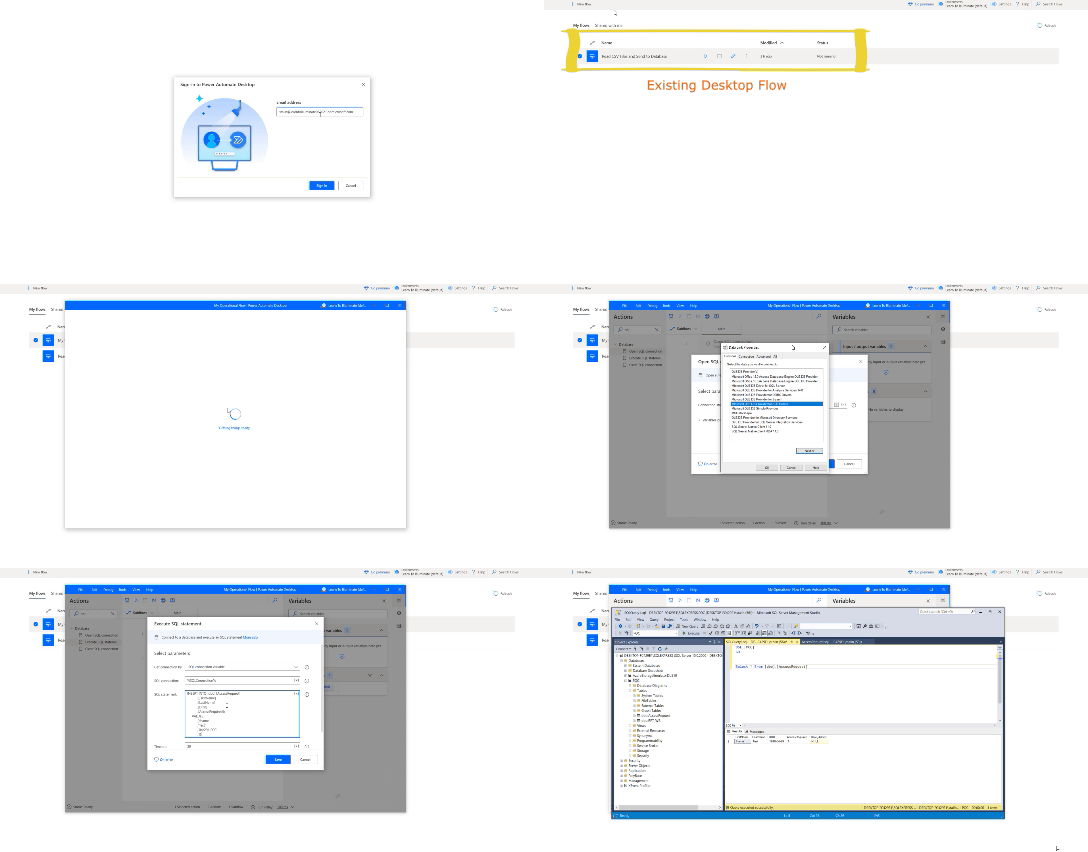
Create First Desktop Flow
Please refer Microsoft document for more and up to date details
Happy Learning!


