

The Power Apps portal allows to integrate Power Virtual Agent Chatbot natively by adding from portal components. Chatbot to answer questions automatically posted by a visitor on your Power Apps Portal.
Background
We used to integrate chatbot in our website by getting “Copy or share the code” and using IFrame. This is the only option to integrate it as of now. But, now it’s changing the way we implemented.

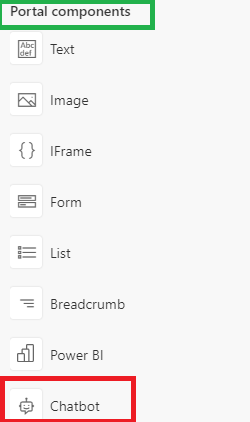
And now a new portal component “Chatbot” for the portal
Public Preview (As of 6/11/2021)
- This is a preview feature.
- Preview features aren’t meant for production use and may have restricted functionality. These features are available before an official release so that customers can get early access and provide feedback.
Capabilities
- Add bot to all pages
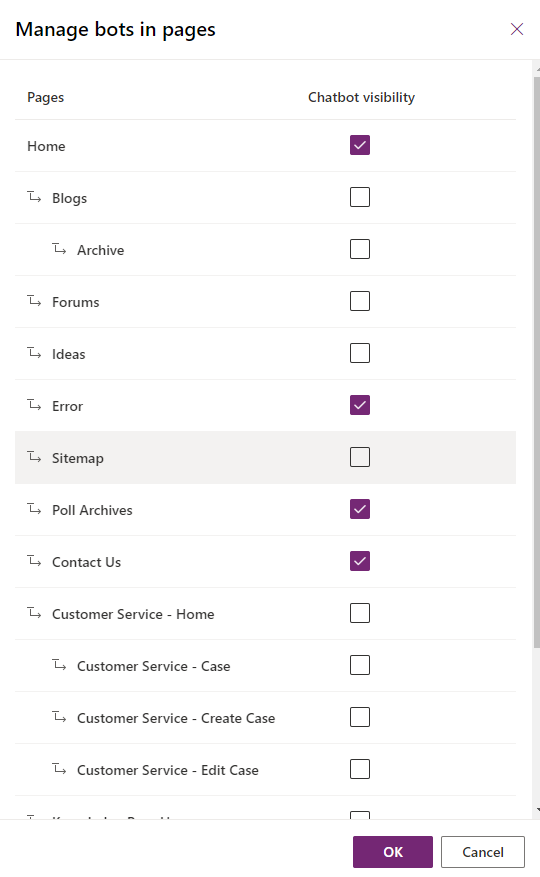
- Add bot to specific pages (UI to select pages)
1. Create your bot
Before you add a bot to a Power Apps portals page, you must create a bot first. Go to Power Apps to create the bot. Refer Microsoft document here.

2. Add chatbot to Page(s)
- Edit portal using portals Studio
- Select Components from the left navigation
- Select Chatbot component
- Select your bot
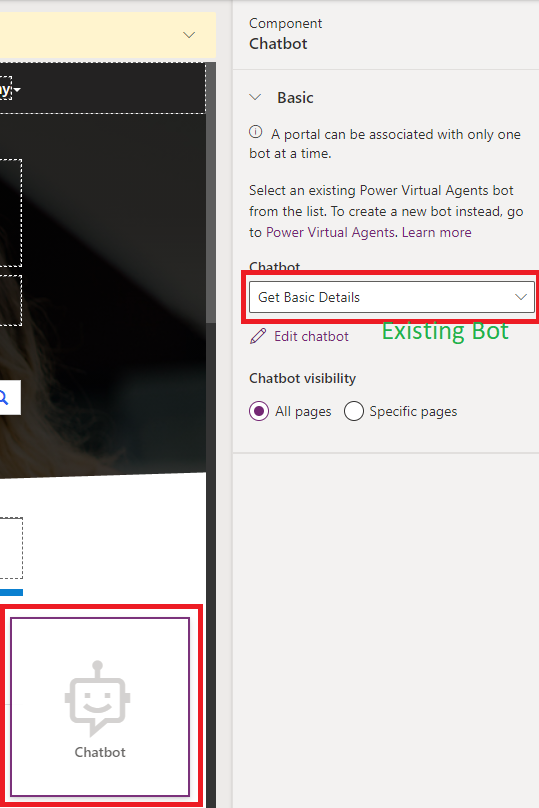
By default “Chatbot visibility” is selected to “All pages”. So, when you browse website, you will see selected chatbot appearing in all the portal pages. We can select visibility option to “specific pages” and select the pages where you want to show bot.
Browse website to view the bot on the portal.

Try this feature from make.preview.powerapps.com
3. Chatbot in Action
4. Advanced Configuration
Chatbot component is rendered using a web template called Power Virtual Agents.
You can change the values for the width, height, headertext and some style inside the “window.PvaEmbeddedWebChat.renderWebChat()” function.
| Parameter | Value |
|---|---|
| width | Uses variable “chatWidth”. To change width, update the width in pixel:let chatWidth = "320px"; |
| height | Uses variable “chatHeight”. To change height, update the height in pixel:let chatHeight = "480px"; |
| headerText | Title of the bot. By default, uses the bot’s name. To change, add “headerText” parameter with the bot header value:"headerText": 'Contoso chatbot'; |
| webChatHeaderStyleOptions | Determines header style for the chatbot component, such as the color of font, and background. To change, update “webChatHeaderStyleOptions” parameter with the values for “fontColor”, and “backgroundColor” properties:"webChatHeaderStyleOptions": {"fontColor":'black',"backgroundColor":'white',} |